The Home Renovations Advisor

The Home Renovations Advisor
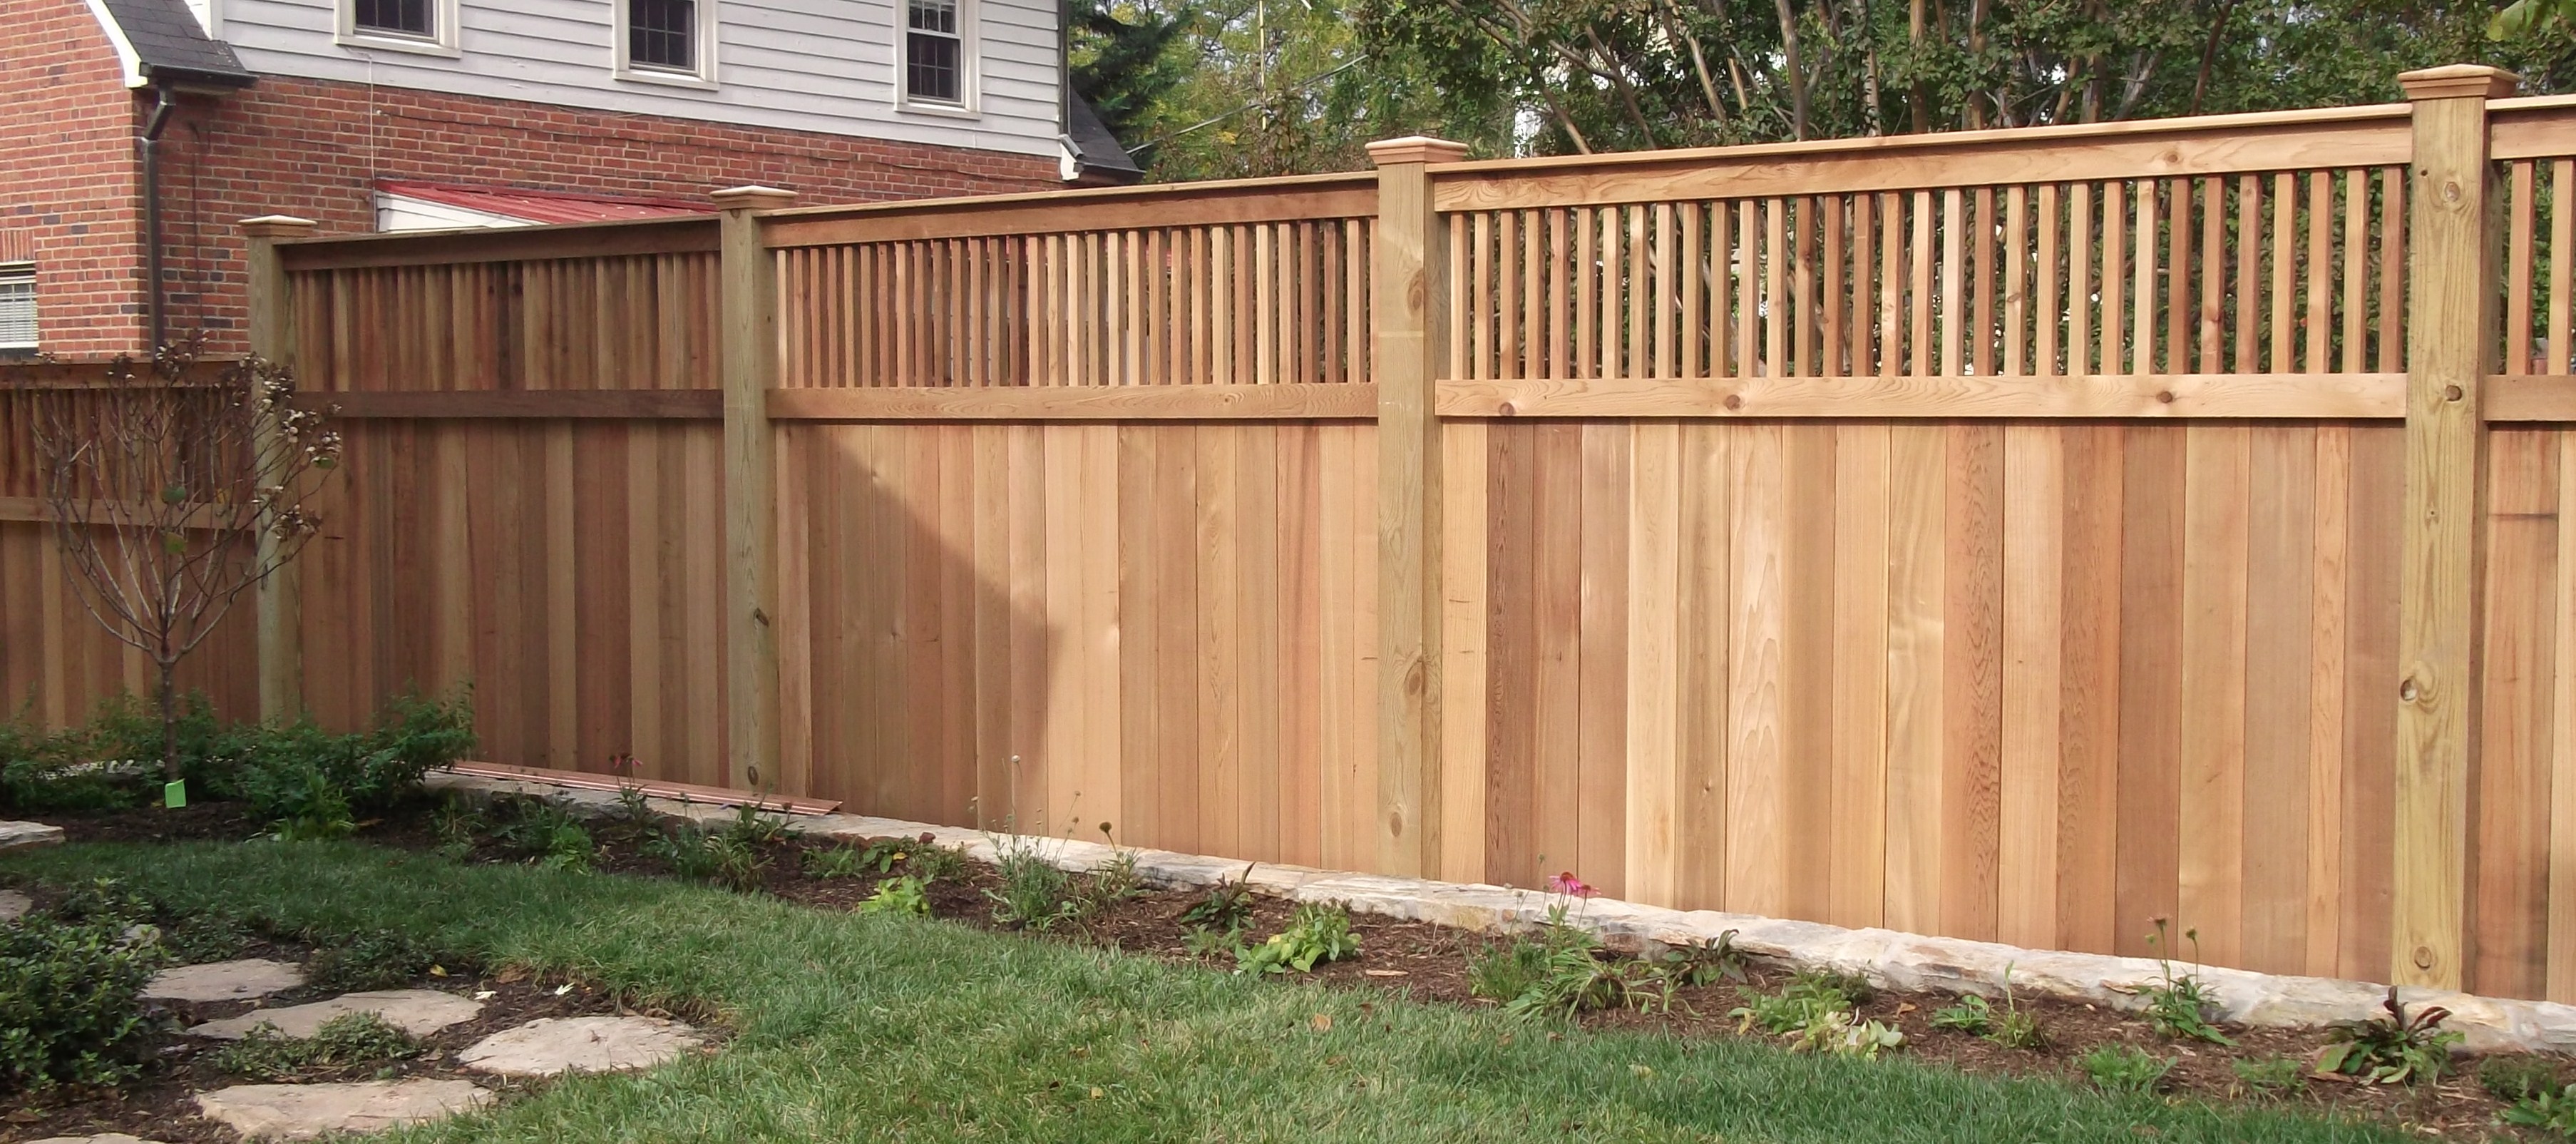
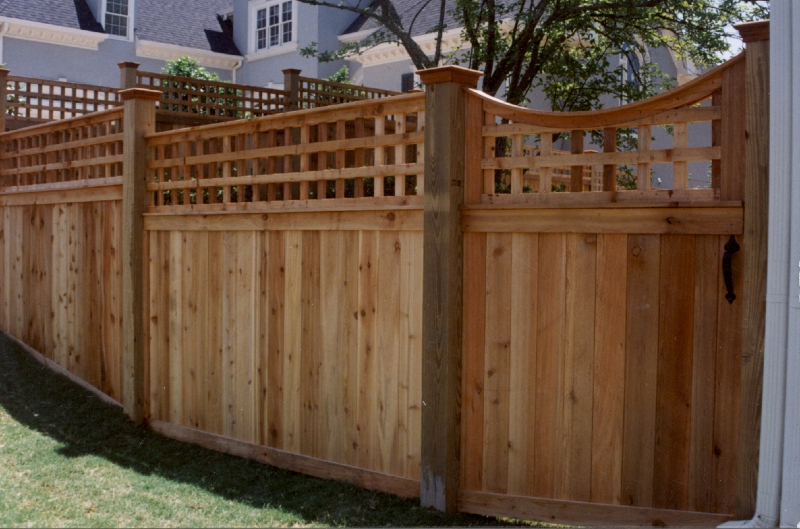
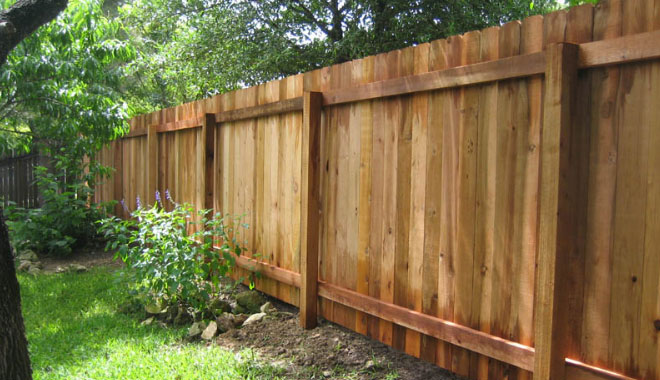
How to Build a Cedar Fence
Children are taught that
it is rude to stare. Unfortunately, the adults that teach them this
are actually the main culprits. In the real world, when children
stare, adults dismiss them, but when adults stare, fights start
occurring. Even a simple glance along the same direction can be
mistaken as prying by neighbors. And think as to what it must be
like to live next door to actual prying neighbors.
To solve this problem, the adults settled on walls as form of solution. The good thing about these walls is that its construction is relatively easy when it comes to instructions on how to build these.
The hard part is with physical effort involved in the building. Even so, a simple wall or fence, for that matter, may only take as few hours of work if this is done by a 3-man team. As an added tip, always have an assistant in building a wall or a fence.
How to Build a Fence Using Cedar Wood
There two advantages with using wood as the wall’s main component piece. The first is that any type of wooden wall holds within it the power to look great and elegant even though it is only wood.
The second advantage, on the other hand, is all about the price. Of all the possible wall components, wood is actually the cheapest to buy, and to a certain extent, the easiest to shape.
After deciding that the wooden fence to build is a Cedar fence and purchasing the materials, the owners should begin the task by planting stakes on the ground and connecting these together by string. This will obviously create a line. This line marks the fence line from beginning to end and will be necessary in ensuring that wall is straight.
Using the line of string, owners should next start to mark out the exact positions of the holes to be dug. The purpose of these holes is to provide the fence posts with the necessary support for it to remain standing straight (not leaning) and hold the entire wall into place. As such, make sure the holes have the same depths to that the fence posts for the Cedar fence will all end up with the same height.
After the holes have been dug up, start mixing the cement. After this, take one of the fence posts and plant it on the hole. Pour cement over it to close and secure it. Then go to next hole and do the same again until all the holes have been closed up.
Attach the horizontal wood bars to the post. These will go the uppermost part of the posts. Another horizontal piece will go down to make a rectangle. Once this is done, attach the Cedar fence’s boards to cover up all remaining spaces on the fence.
As an added reminder, make sure that the only part of the wood that touches the ground is the 2 posts. In this way, it is the only part of the fence that is soaked by rainwater from the soil. Finally, attach the wood cover on top of the fence. And the Cedar fence is done.

Cedar Fence

Cedar Fence

Cedar Fence
Twilley Lane
Ajax, ON. Canada L1S-7N2
www.thehomerenovationsadvisor.com
647.772.3762
All Rights Reserved. Albert James
Info@thehomerenovations
advisor.com
Articles may not be reproduced in anyway without permission.


Designed by Gomamawebdesign