The Home Renovations Advisor

The Home Renovations Advisor
Tee post (T-Post) is a special type of fence that is mostly made of metals. It got its name because when viewed from above, it assumes the t-shaped profile. This type of fence is commonly used in farms and ranches. It is also perfect for supporting mesh fencing around gardens. Although it looks very simple, installing the T post requires careful planning and skill. This article will teach you how do it the right way.
Plan
The first thing to do in a DIY project is to plan. Make a lay out of the fence lines and divide the distance depending on how many feet apart you want to set the posts. Usual choices are 12 and 16 feet. This will then give you the idea on how many T-posts you need. Next is to determine the amount of fence wire you need and decide on the number and location of your gate. Each of the gates requires two posts. The heavier the material you use for the fence, the sturdier the post should be.
Get Ready
When all the materials are ready, it is time to work on the actual project. Set your strongest posts on the corners as they will serve as the main support of the whole fencing. Dig a depth of 36 inches on the ground and set the posts. Fill in the hole with the excavated dirt and tamp it down with a bar from time to time to ensure stability. Set a second post on either side of the main post and attach it horizontally with a timber.
Setting the T-Posts
Run a tape measure from your fence line every 12 or 16 feet and mark the ground. Secure the middle fence wire to one corner and run it down to the next. Set the T-post and place the open end of the post driver on the top. Raise and bring it down to drive the post on the ground. Drive the T-post to cover the fins on the bottom. Always check the fence line to have a uniformly driven post. Pay attention to the height as well.
String the Wire
String the wire starting from the bottom. If you are using four wires, run every 10 to 12 inches from the ground. Secure the first wire with staples and cut the wire at the next corner. Place it at the correct height and leave it connected to a tractor until you have successfully installed it up to the T-post. Clip the wire to each post and secure any protruding ends to prevent these from causing danger to animals.
Tips:
The direction of the bumps in the T posts will depend on where you want the animals to stay.
The depth of the posts depends on the animals getting in and out of the fence. For gardens, one foot is enough. But for farms, consider a 7-foot depth.
Always wear gloves throughout the work to avoid injuries.
Installing the T-post fence does not have to be too difficult. Follow the steps above and you can surely make the project this weekend. When properly done, the fence can do the job that it’s supposed to do.

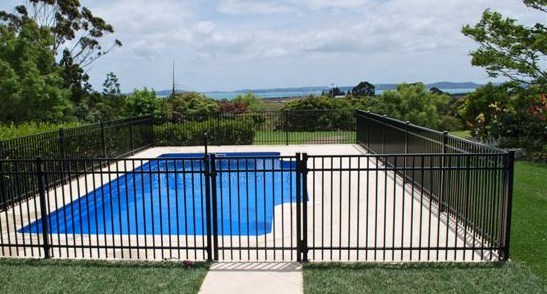
Fenced Swimming Pool

Protective Swimming Pool Fence

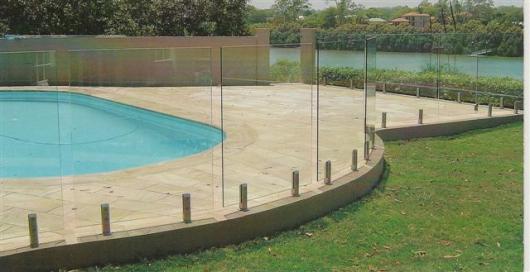
Frameless Swimming Pool Fence
Twilley Lane
Ajax, ON. Canada L1S-7N2
www.thehomerenovationsadvisor.com
647.772.3762
All Rights Reserved. Albert James
Info@thehomerenovations
advisor.com
Articles may not be reproduced in anyway without permission.


Designed by Gomamawebdesign