The Home Renovations Advisor

The Home Renovations Advisor
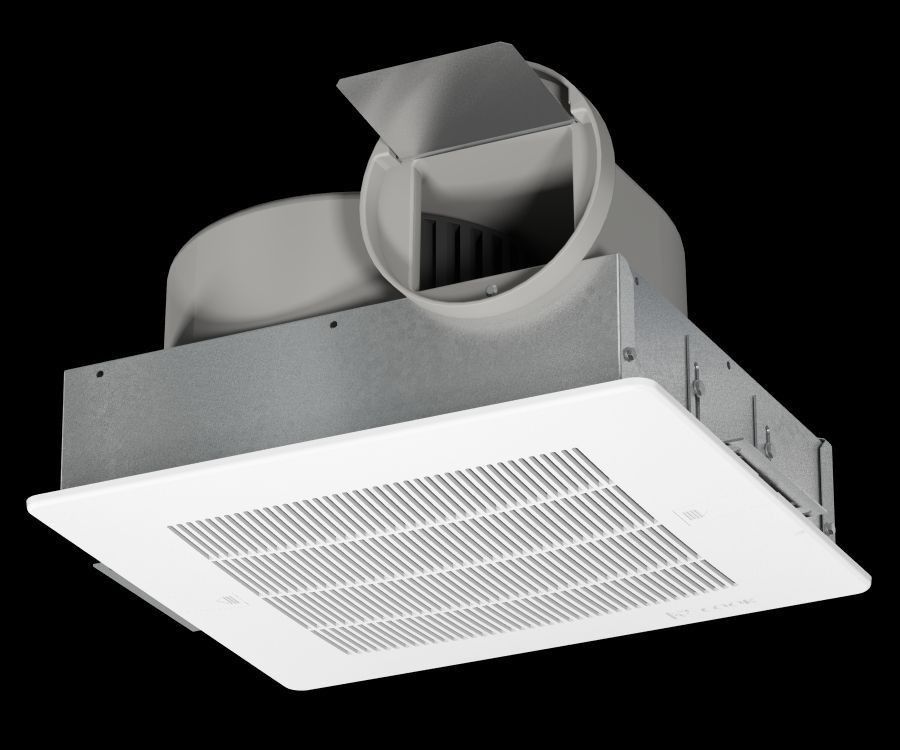
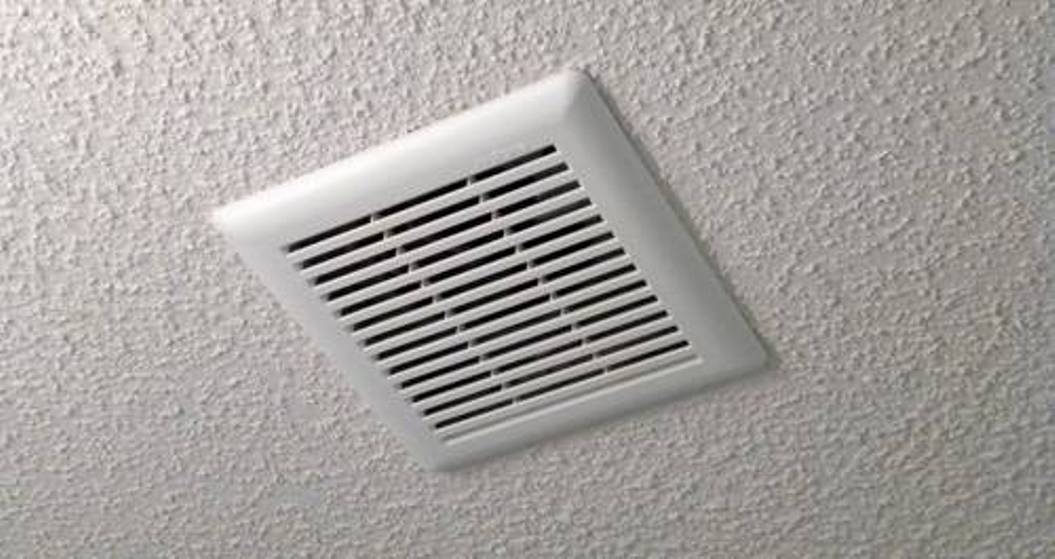
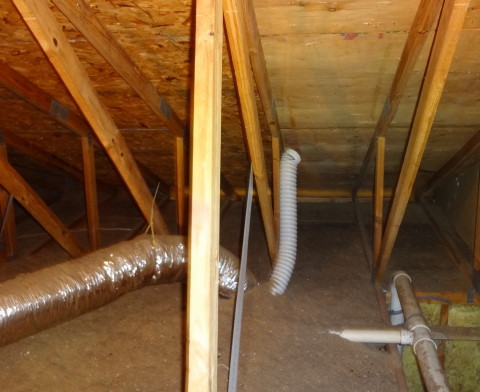
Installing a Bathroom Vent
Do you often feel sweaty right after you have taken a bath? If yes, your bathroom ventilation is to blame. So, how about taking some concrete steps to cure this problem. In roughly 4 hours, you can get rid of the problems associated with bathroom ventilation. The project involves replacing your old noisy bathroom fan with an efficient high capacity unit. So, here we go.
What is a Bathroom Fans and what is its
Purpose?
A bathroom has to deal with constant moisture all day long. So,
natural it should have a ventilation system to take care of all the
moisture in the air. A bathroom vent fan does exactly this and
works hard to remove odor, moisture and mold from the
bathroom.
But over a period of time, it can wear off. The mirror becomes
foggy or there is mold on the shower wall. Fan creates excessive
noise. These are tell-tale signs that you need a new bathroom
ventilation fan. New fans are much more efficient, quieter and
highly effective in removing moisture.
In selecting a bathroom fan, you have to consider Cubic Feet per
Minute or the CFM capacity of the bathroom. Then you have to
multiply this with floor area of the bathroom and further with a
constant. This constant is 1.1 for 8 ft ceiling height and 1.25 for
a normal 9 ft ceiling height.
For example, a 8X10 feet bathroom with a 9 foot ceiling will need a vent fan of 100 CFM or more. Also, give due consideration to fan noise as well. For this, check out bathroom vent fans with low sone number/rating.
Getting Ready
Before you can begin with the project, you should prep the
bathroom. Clean the surface dry to avoid any slippage injuries.
Here are the tools you need:
• Stepladder or stool
• work gloves
• safety glasses
• circuit tester
• Drywall Saw, Pry bar, screw driver and Wire Stripper
• New vent fan unit
• Strain relief connectors
• Electrical Tape, duct tape and Wire nuts
• Vent pipe Adaptor
• 1 inch general purpose screws
• drill and relevant driver bits
• Fan Grille
The Process - Step by Step Guide
1. Turn off the power and remove the old fan's vent grille. You can
switch off the circuit breaker form the mains to avoid any
accidental shock. Confirm the power off situation from the wall
switch. Once you remove the grille, reconfirm the power off in the
lines using a tester to the wires. Now, pull out the plug wires
that connect the power with the motor.
2. Remove the Fan Unit by loosening the fasteners holding the
fan/motor unit with the housing. This may require you to do some
prying using a screwdriver.
3. You may need to enlarge the bathroom vent fan opening in case
the new wall fan is larger. For this, hold the new fan to the hole
and mark the required dimension on the wall. These cut lines now
signify the new dimension required for the bathroom vent fan. Now,
take a drywall saw and enlarge the opening to allow for a bigger
fan. Be careful not to damage any wire housings or plumbing
circuits.
4. The next step involves detaching the housing for the bathroom
vent fan. Unfasten the housing from the ceiling joints using a
screwdriver or a pry bar.
5. Now, a strain relief connector is to be added. You have to
attach it with the housing junction box's cap. Furthermore, push
the power wires through the connector.
6. The wires from the above step have to be connected to the new
fan unit. Simply, join the color matched wires to each other. The
green wire is for earth or neutral. Use electrical tape to safely
secure the wire nut on each of the wire. Now, put the wires in
individual junctions and close the cover.
7. The bathroom vent fan must now be slid into the ceiling cavity.
Make sure the action is smooth and no obstruction is there in the
movement of the fan.
8. Now, finally, install the new vent fan for operation. Use 1 inch
general purpose screws to fasten the unit's housing. You might have
to drill the housing to make holes for the screws. Close the wiring
box cover. Plug the fan unit into the junction box receptacle. Now,
check the wiring one last time using a tester.
Once, you set breaker to “on” position, push the fan on and it should start working. Complete the project by attaching the grille of the bathroom vent fan.
Bonus Tips on Bathroom Vent Fan Replacement
• Create an attic using some plywood. This work platform is safer
compared to a stool or stair.
• Hold the fan housing using an S-shape hook.
• Always wear protective glass to protect eyes from small particles
or wires and concrete.

Bathroom Vent

Bathroom Vent

Bathroom Vent
Twilley Lane
Ajax, ON. Canada L1S-7N2
www.thehomerenovationsadvisor.com
647.772.3762
All Rights Reserved. Albert James
Info@thehomerenovations
advisor.com
Articles may not be reproduced in anyway without permission.


Designed by Gomamawebdesign